
Notes
- If you are new to bread-making, the info below may look overwhelming. It is surprisingly easy once you go thru it. Just take it one step at a time.
- You need a Sourdough Starter (a yeast). You can make it from scratch (Google it), get it from someone who has one (what I did), or buy one. It can theoretically last forever if you feed it (flour & water). Yeast eats sugars and releases carbon dioxide. The carbon dioxide gets trapped as it’s trying to escape and that’s what causes bread to rise.
- Time Requirements: EDIT: I now start in the morning and do the entire process in one day. This helps avoid the dough from over-proofing, which can happen overnight. There are effectively four sessions/time blocks, so you need to plan it out.
1) Mixing the starter with flour & water (5-10 min). Then you let it sit for about an hour.
2) You return to the dough every 30 minutes to fold it 3-4 times (2 hours), then you let it sit again for 6-10 hours.
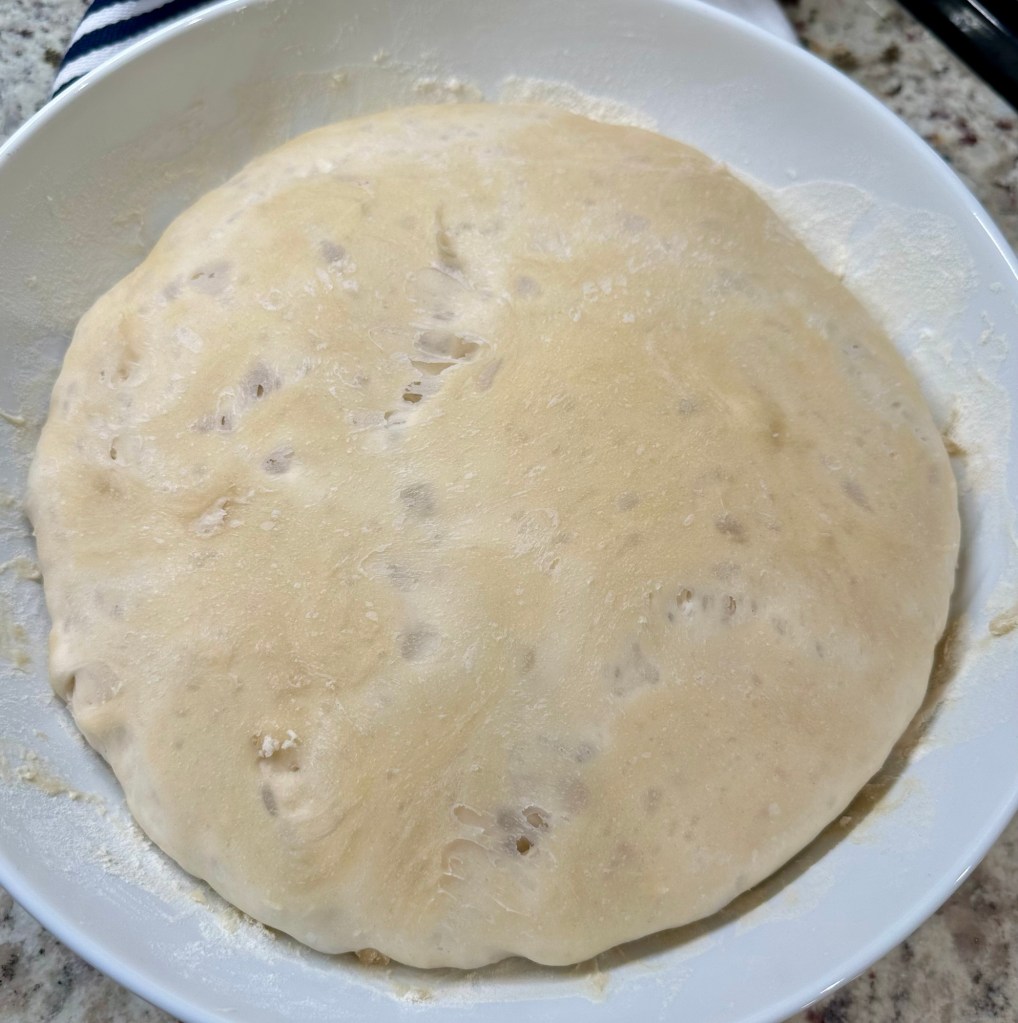
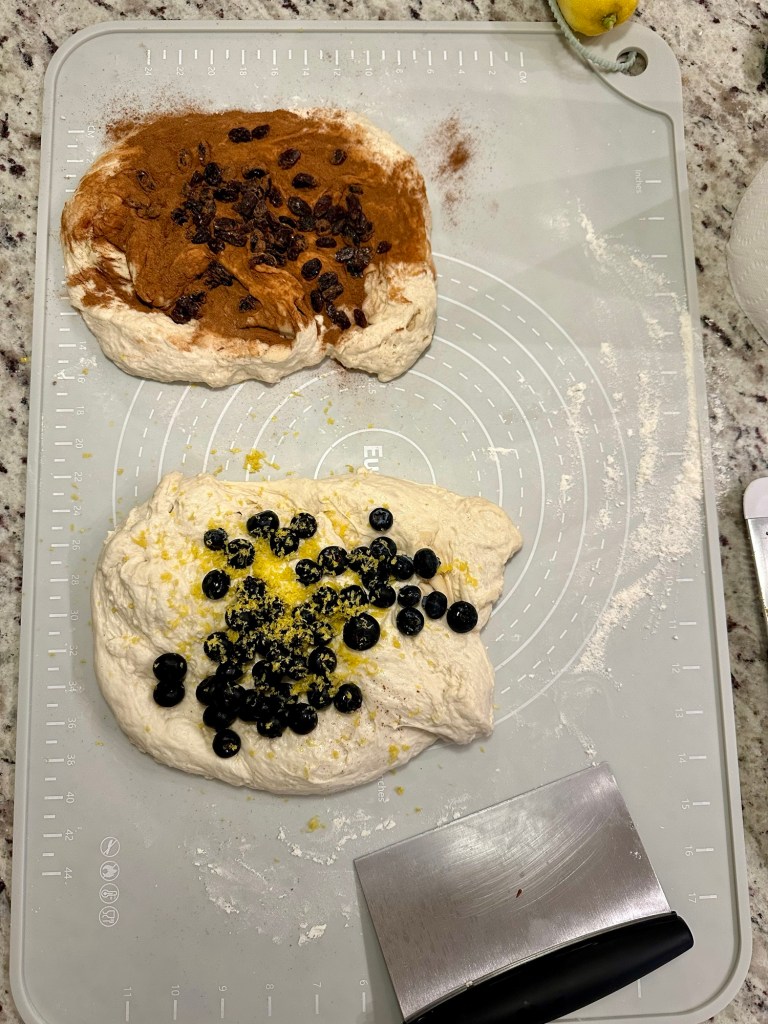
3) Once the dough has roughly doubled in size, divide it in half. Stretch each piece out like a canvas, add any inclusions, then roll it up like a burrito to form the loaves. Place them in banneton baskets, cover, refrigerate for about an hour, and preheat the oven.
4) Then you bake it (40-45 minutes).- Full process example day:
- 8:00am Step 1
- 9:00am Step 2
- 5:00pm Step 3
- 7:00pm Step 4
- Full process example day:
- Pictures below showing the steps in the process.
- Other Ingredients: You can pick between two different times to add them. Before the final proofing or after the final proofing, while forming the loaves.
- It’s okay to be inexact. The time estimates, flour & water measurements are approximate.
- Do NOT put sourdough starter or dough down the drain. It will clog your pipes, like cement. Wipe unused dough off surfaces and utensils with a paper towel before you clean it.
- Homemade bread tastes 10x better than store-bought bread. I originally had no interest in making bread because it seemed like a lot of work to save 30 cents, but it tastes better, you feel better after eating it, and you save more than 30 cents.
- This recipe makes two (2) loaves.
- Bread flour works better than All Purpose flour.
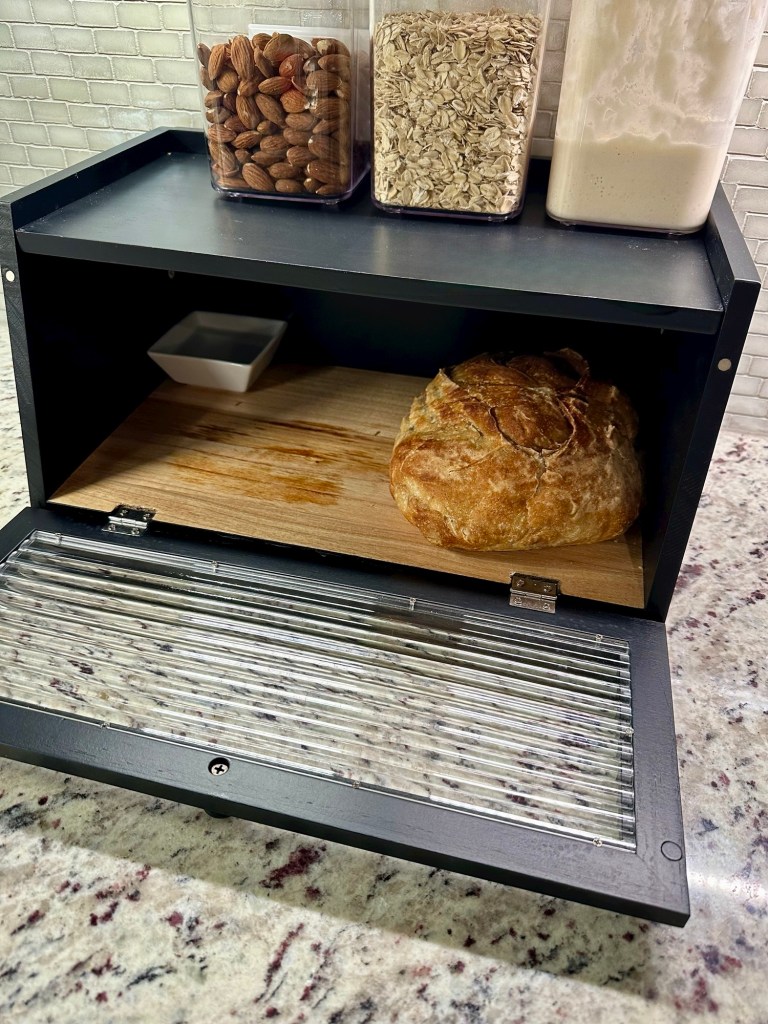
- Store in the refrigerator (best) or breadbox. Keeping a small tray of water inside a breadbox can add humidity that prevents it from getting hard as fast.
- Troubleshooting: Google or Chat GPT usually provides a solution to most sourdough problems.
INGREDIENTS
Bread Dough
- Sourdough Starter (1-2 tablespoons)
- Unbleached flour (6 cups)
- Warm water
- Salt
- Optional Inclusion Combinations:
- Pumpkin Cinnamon Swirl
- Apples + Cinnamon
- Blueberry + Lemon
- Cheese + Jalapeno
- Rosemary + Garlic
- Cinnamon + Raisin
- Orange Zest + Craisins
- Rosemary + Salt
EQUIPMENT
- Glass or plastic container for the Starter (e.g. large mason jar)
- Large mixing bowl
- Dish towel, plastic wrap, or similar cover
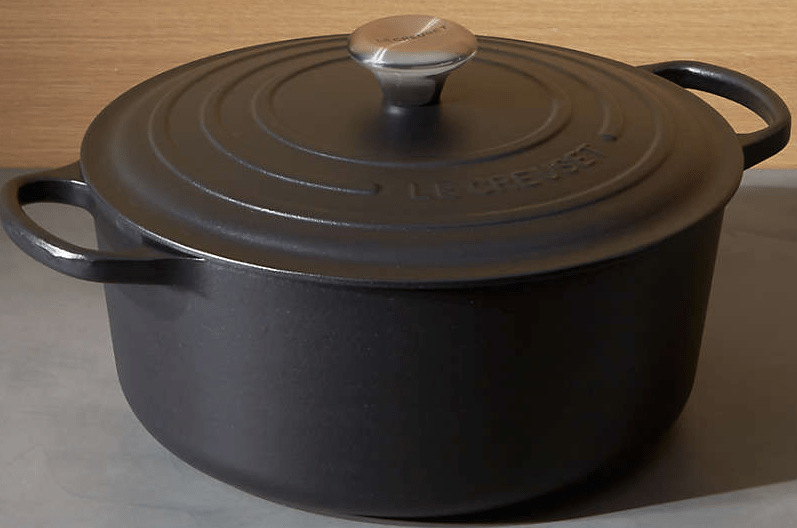
- Dutch Oven
- Parchment paper
- Optional: Banneton basket
- Sharp knife or razor, for scoring
- Bread storage box
- Optional: Aluminum foil (lining the bottom of the Dutch Oven)
DIRECTIONS
Leavening
- In a large mixing bowl, add a heaping tablespoon of Sourdough Starter.
- Add 1/2 cup of flour.
- Add 1/3 cup of warm water. Add more as needed until the flour is absorbed.
- Stir well, cover it with plastic wrap or a damp dish towel (the moisture prevents the dough from getting hard) and store it somewhere warm for approximately 12 hours.
Mixing the Dough
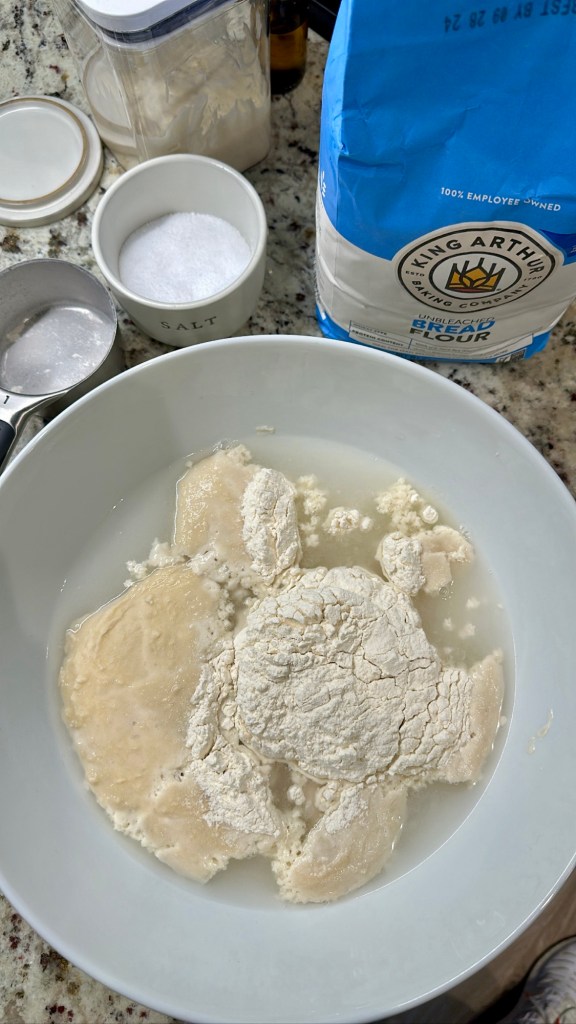
- Add 2.5 cups of warm water, then a few pinches of salt.
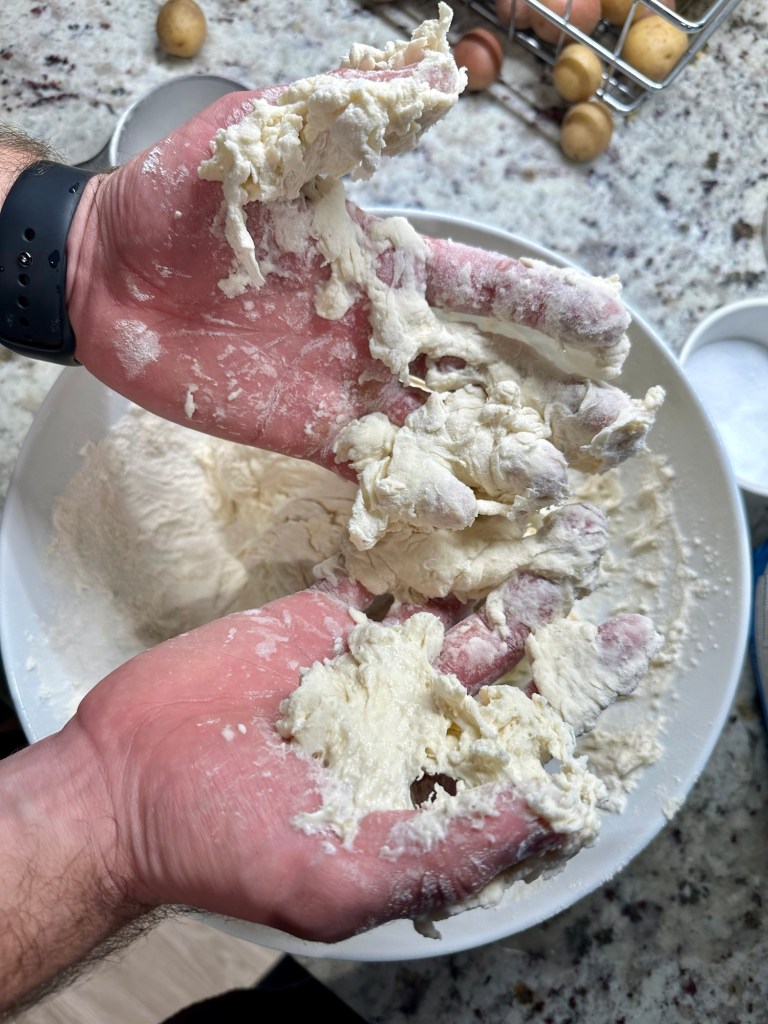
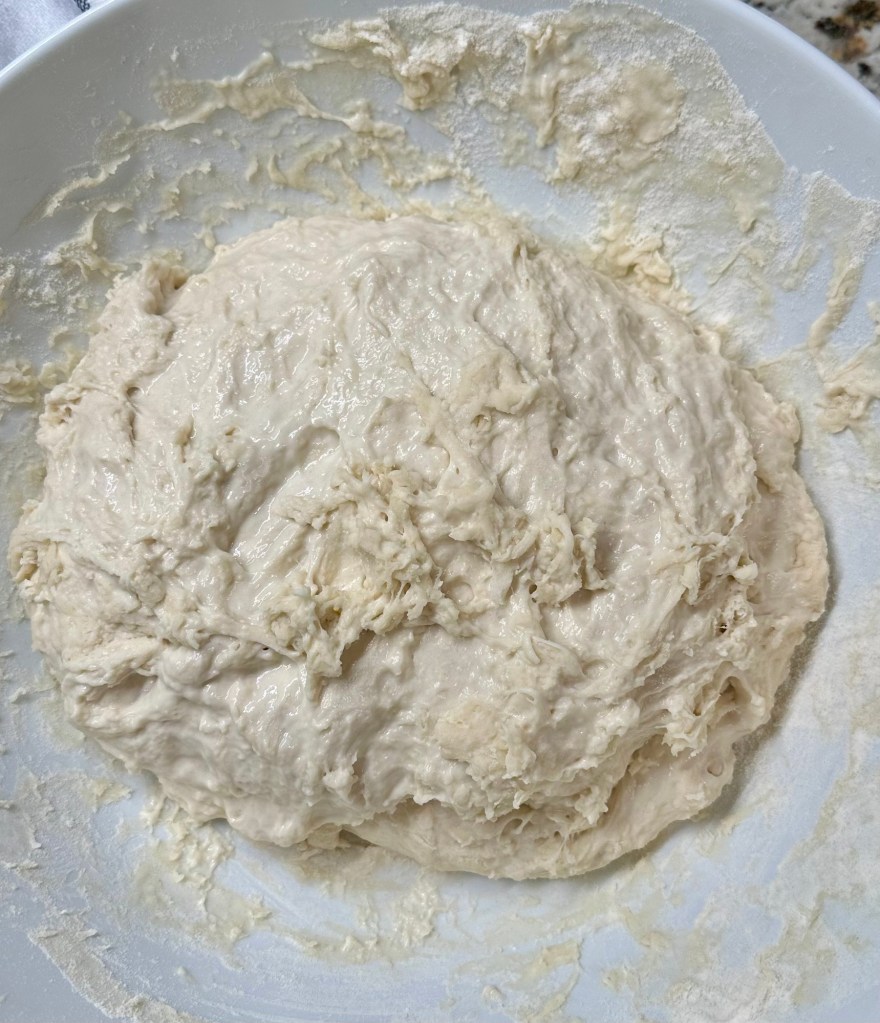
- Add 5 cups of flour and mix until fully combined. The dough will be very sticky. Adding flour to your hands can help with the stickiness. Nitrile gloves are an option, too.
- You will intuitively know by the texture whether it needs a little more water or flour. You want a “shaggy” dough.
- Once the dough is mixed well, cover, and let it sit for 30 minutes.
Folding & Proofing
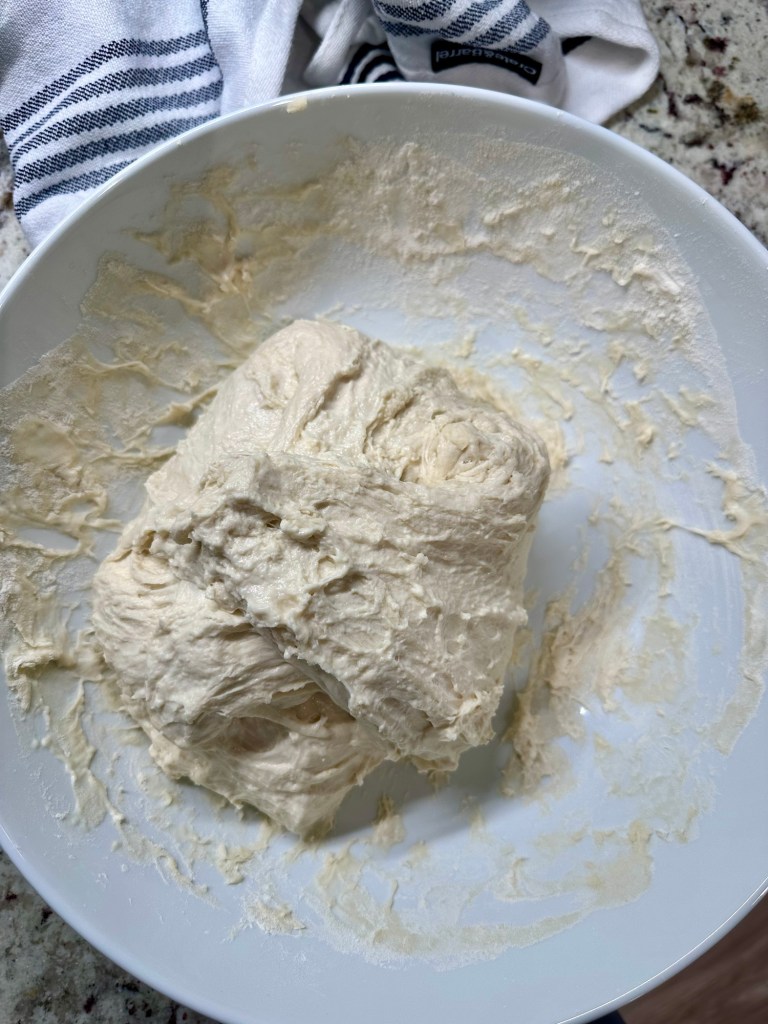
- After the dough has sat for 30 minutes, you do NOT mix or knead the dough anymore. This can “overwork” the dough. Instead, you fold it.
- To fold, scoop up the sides of the dough with both hands as if you are trying to pull paper out of a jammed printer. As you pull the dough from the bottom up in the air, fold it over the center. Do it once, then rotate the bowl 90 degrees. Repeat so that after 4 folds the bowl is back to where it started. Cover and let it rest for another 30 minutes.
- Do Step 2 a total of 3-4 times (about every 30 minutes).
- Other Ingredients: On the last fold, add any other ingredients you want to add.
- Leave the dough alone for 6-10 hours (can be a little longer or shorter if needed).
Forming & Baking
- Preheat oven to 425°F. Line the Dutch oven with aluminum foil (helps prevent the bottom from burning, which makes it hard to clean) and place it in the oven so it can preheat simultaneously.
- Put loose flour on a clean counter, so the dough does not stick.
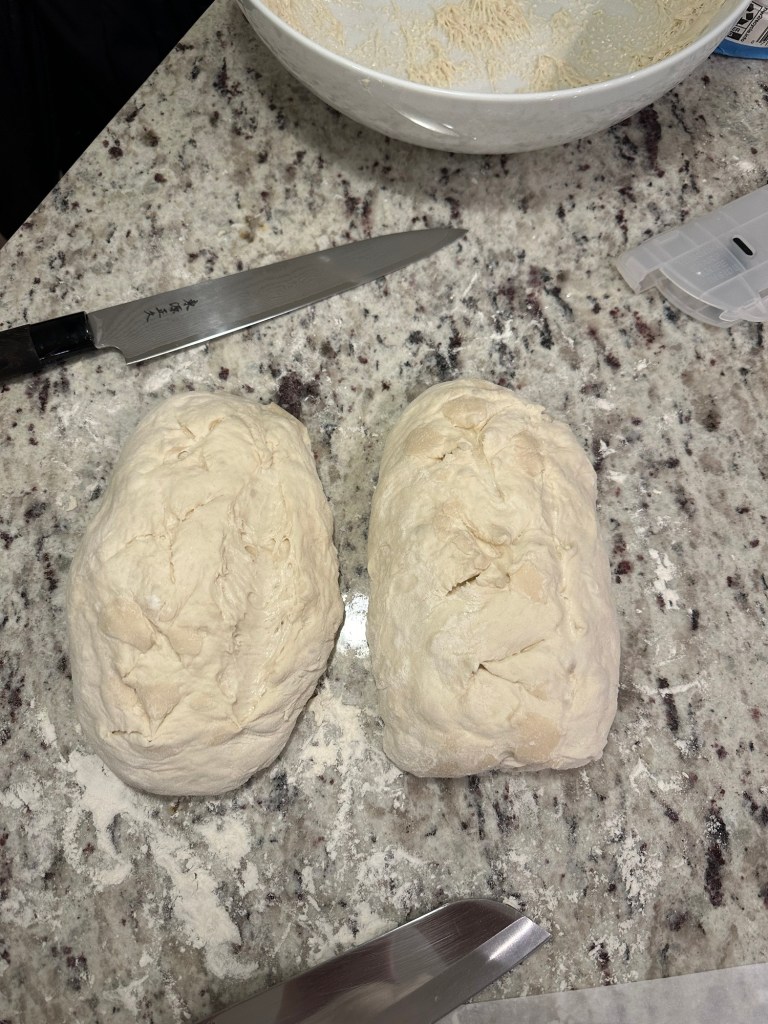
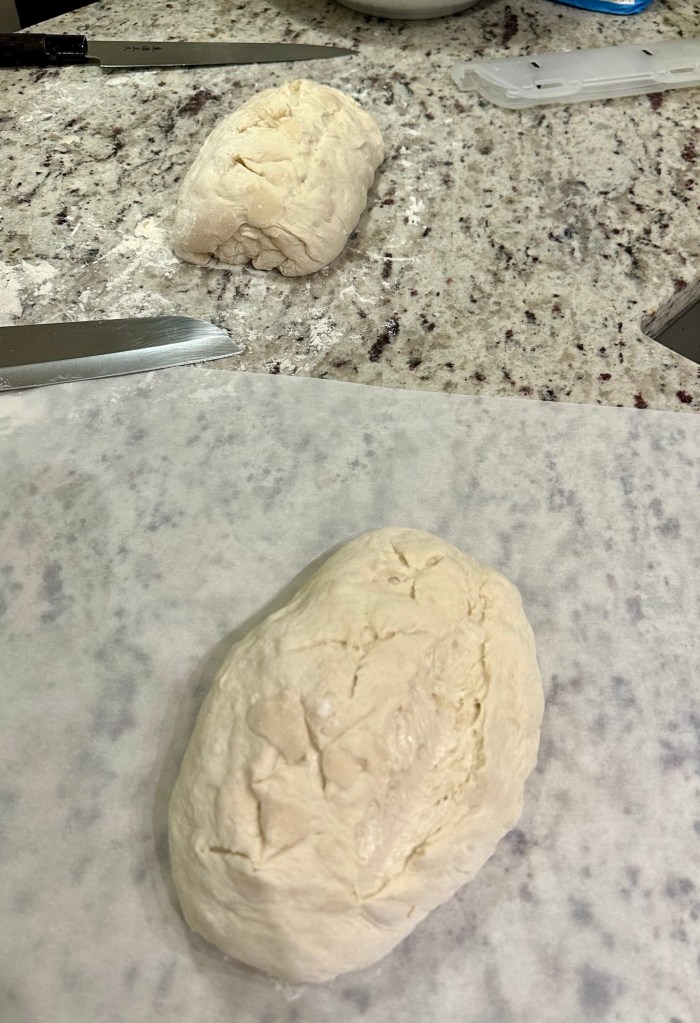
- Put the dough on the counter and cut it into two loaves.
- Do NOT punch the dough or knead it. Stretch it out like a canvas (OPTIONAL: ADD OTHER INGREDIENTS as shown in picture below), roll it up, then tuck it on the bottom to form into a burrito shape.
- Optional: Put the loaf into a banneton basket, cover, and refrigerate for 30 min – 3 hours. I have started doing this and like the results.
- Design the bread, if desired, with a sharp knife or razor. Otherwise, make a long cut down the length of the loaf. This controls the expansion.
- Cook one loaf at a time. Put a handful of ice-cubes (4-6) in the Dutch Oven right before you put the loaf in. This creates additional steam, which helps the loaf rise.
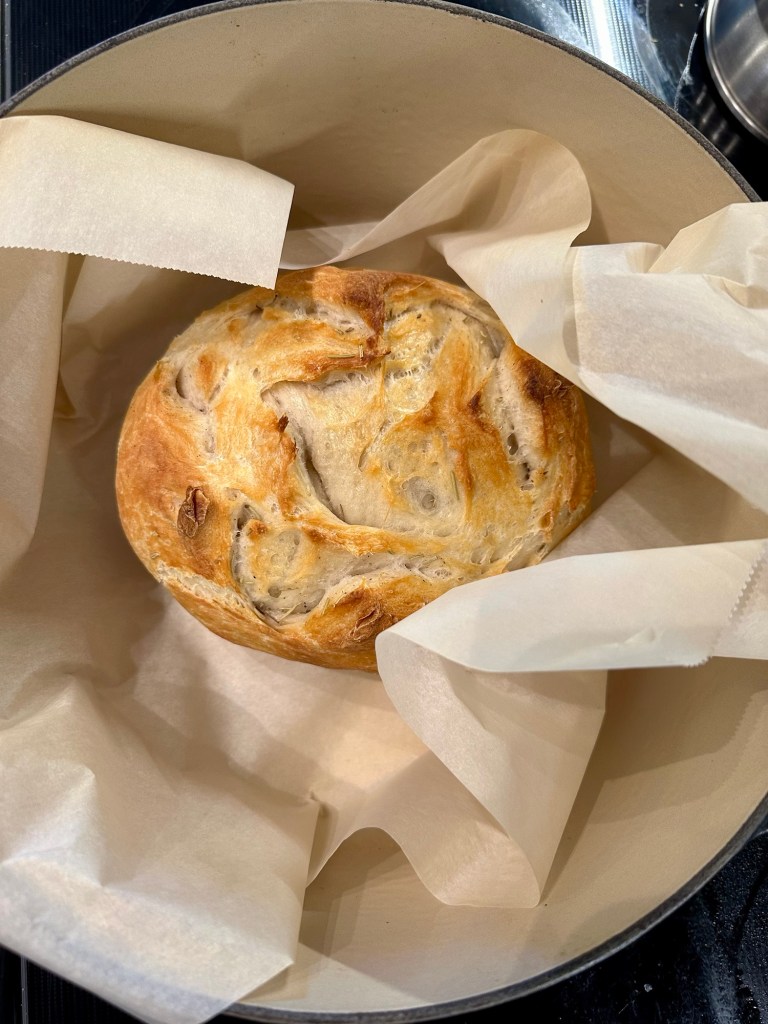
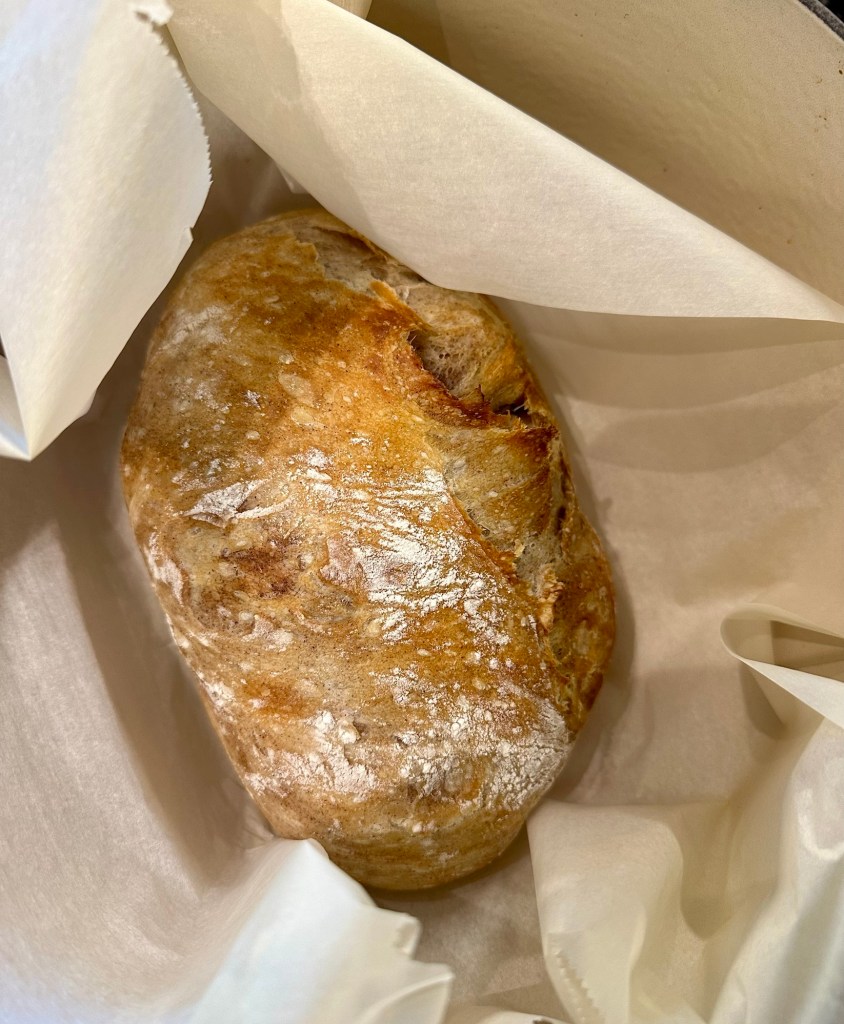
- Place the loaf on parchment paper, insert into the Dutch Oven, & cover with lid.
- Bake for 20-25 minutes with the lid on.
- Remove the lid and bake an additional 20-30 minutes without it. If it needs more time, cook in 5 minute increments.


One thought on “Sourdough Bread”